Tools - Anaconda
Anaconda
Anaconda is an open source data science distribution platform that is used to develop and manage data science projects.
The Anaconda distribution packages Python with a number of supporting packages including jupyter notebooks and provides the conda package management system that allows for installing additional quality controlled python packages from a trusted source.
I find that Anaconda is one of the easiest ways to get a working installation of Python with Jupyter Notebooks on your computer.
Installing Anaconda
- The Anaconda distribution can be downloaded and installed from Anaconda. This requires registration for a free account.
- Installation instructions for PC, MAC, and Linux are found here
- Installing Anaconda Distribution
- Follow these step-by-step instructions to install Anaconda on your system
- Test your installation:
- After the installation is complete open the Anaconda Navigator (see below) and select
Jupyter Labfrom the provided options. This should open a window in your web browser. - Open the Python 3 Console (not a Notebook ).
- Type
1+1into the box and hit<Shift>+<Enter>. - If the Python Installation Worked, you should see the results
2printed on the screen.
- After the installation is complete open the Anaconda Navigator (see below) and select
Working with Anaconda
Anaconda Navigator: This graphical user interface is the easiest way to get started with python and jupyter notebooks in Anaconda.
Starting the Navigator (Getting Started with Navigator) will open a desktop application.
You can then launch jupyter notebooks and other tools from the Home page:
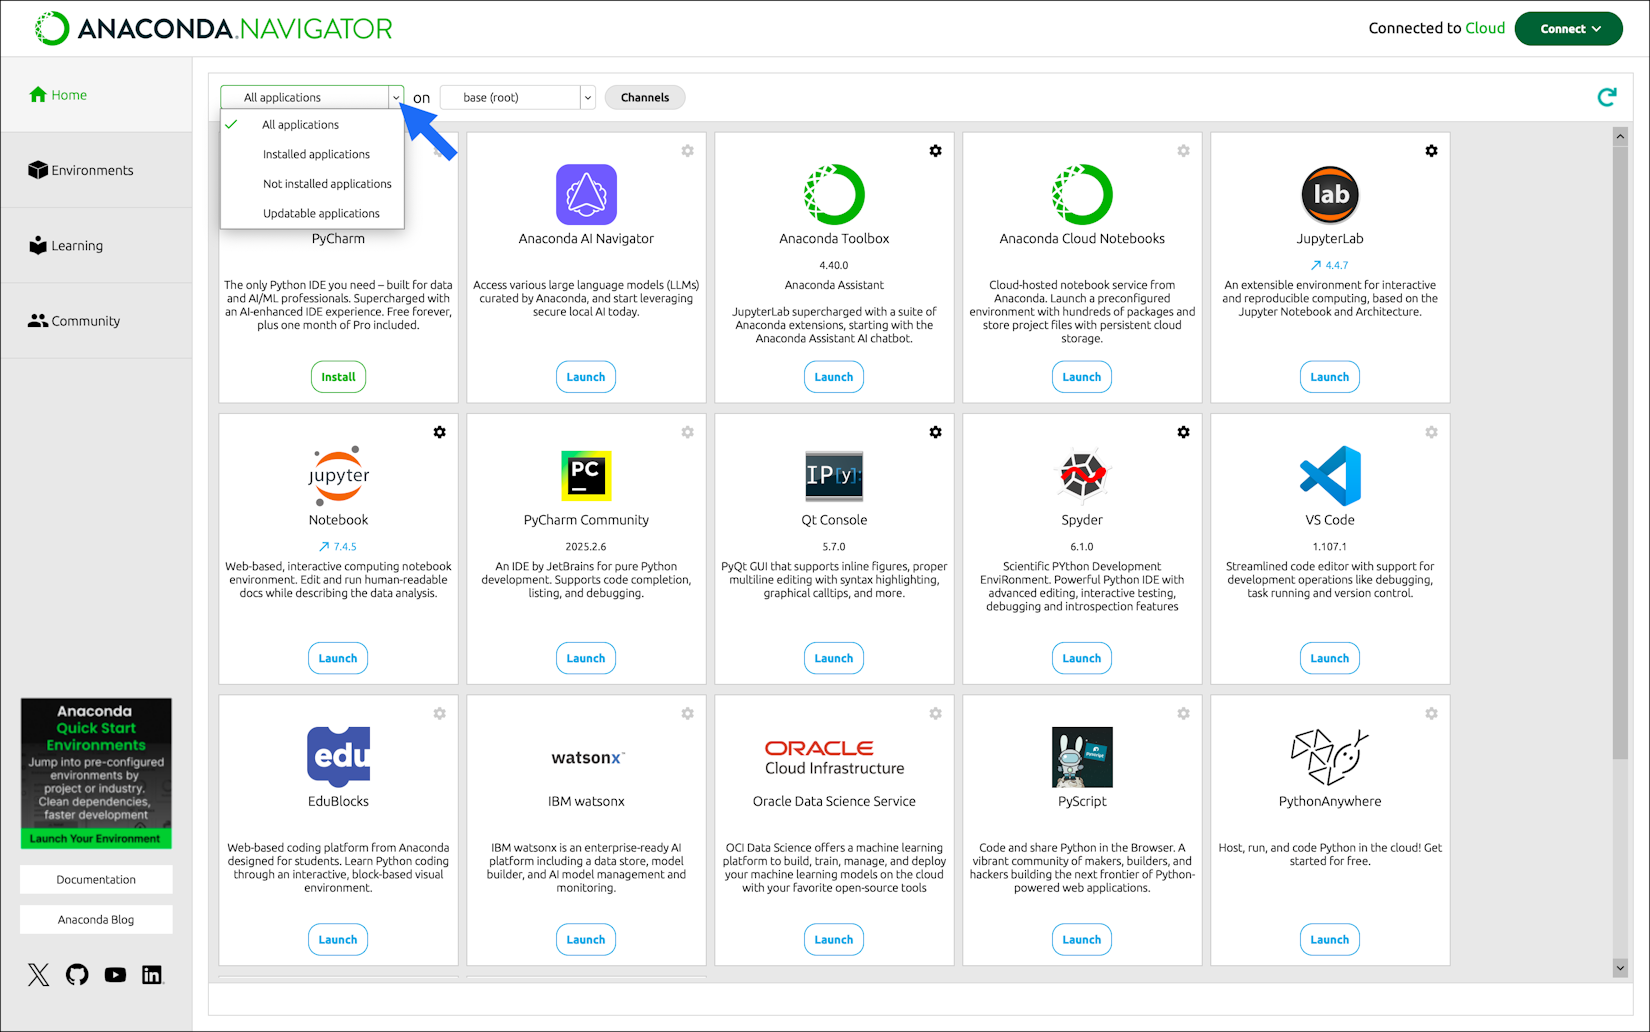
The Anaconda Navigator Home page displaying available applications
Managing Environments with Anaconda
Anaconda allows you to create and manage different environments. This is useful because different projects may require different versions of python and/or different packages. By creating separate environments, you can avoid conflicts between packages and ensure that each project has the specific dependencies it needs to run properly.
Managing Environments using the Terminal/ Prompt
The conda documentation has a page that contains all the important information about managing environments using the terminal/ prompt.
In all cases you should open a Terminal (Mac) or the Anaconda Powershell (Windows).
- Creating an environment with commands
- Creating an environment from an
environment.ymlfile- Before executing the commands you need to navigate using
cdto the location with theenvironment.ymlfile
- Before executing the commands you need to navigate using
- Activating an environment
- Updating an environment
- Before executing the commands you need to navigate using
cdto the location with theenvironment.ymlfile
- Before executing the commands you need to navigate using